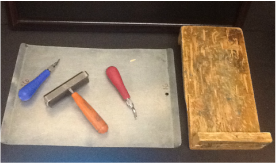
To start, you sketched out an idea that interested you, and then, you drew it on a linoleum block. You then heated the linoleum block with a blow dryer so when you carved, it would be smooth and easy to cut out. You had to make sure you cut your lines deep enough so they wouldn't show up when you print.
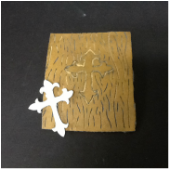
Once your idea was carved, you rolled print making ink on the linoleum block to print your idea on paper. You needed to make sure you didn't have to much ink or the printing process wouldn't work, it would come off blurry. Having a clear picture is the key to the process...it takes more than one try!
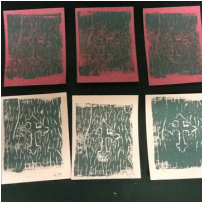
Once you had at least five good prints, you had to cut them out and label them like all art work. I made 7 prints while printmaking, so when I labeled them, it was 1/7, 2/7, 3/7 and so on.
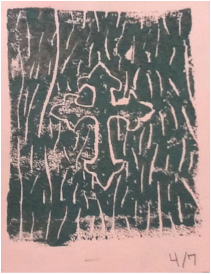
This was one of my favorite prints that I made! I happened to choose a cross because I believe really strongly in my christian faith. I wanted to keep my idea simple but classic, so I chose to put the chatter effect in the background. In all, I was really pleased with my print!
 RSS Feed
